
When it comes to natural animal hides, leather and rawhide are two of the most commonly used materials in crafting, drum-making, tool production, and traditional art. While they may seem similar, leather and rawhide undergo different processing methods, leading to distinct textures, durability levels, and applications.
In this guide, we’ll break down the key differences between leather and rawhide, their best uses, and how to choose the right material for your project.
What Is Leather?
Leather is a treated and tanned animal hide, making it soft, flexible, and durable. The tanning process preserves the hide, preventing it from becoming brittle over time. Different tanning methods—such as vegetable tanning, chrome tanning, and brain tanning—affect the leather’s texture, color, and flexibility.
Key Features of Leather:
- Soft & pliable – Ideal for crafting clothing, footwear, and accessories.
- Water-resistant – Treated leather can withstand moisture better than rawhide.
- Long-lasting – With proper care, leather can last for decades.
- Available in different finishes – Smooth, suede, embossed, or oiled for various applications.
Common Uses for Leather:
- Moccasins & footwear
- Clothing & bags
- Upholstery & furniture
- Saddles, reins & tack gear
- Knife sheaths & holsters
Leather’s versatility and durability make it a top choice for everyday wear and long-term use.
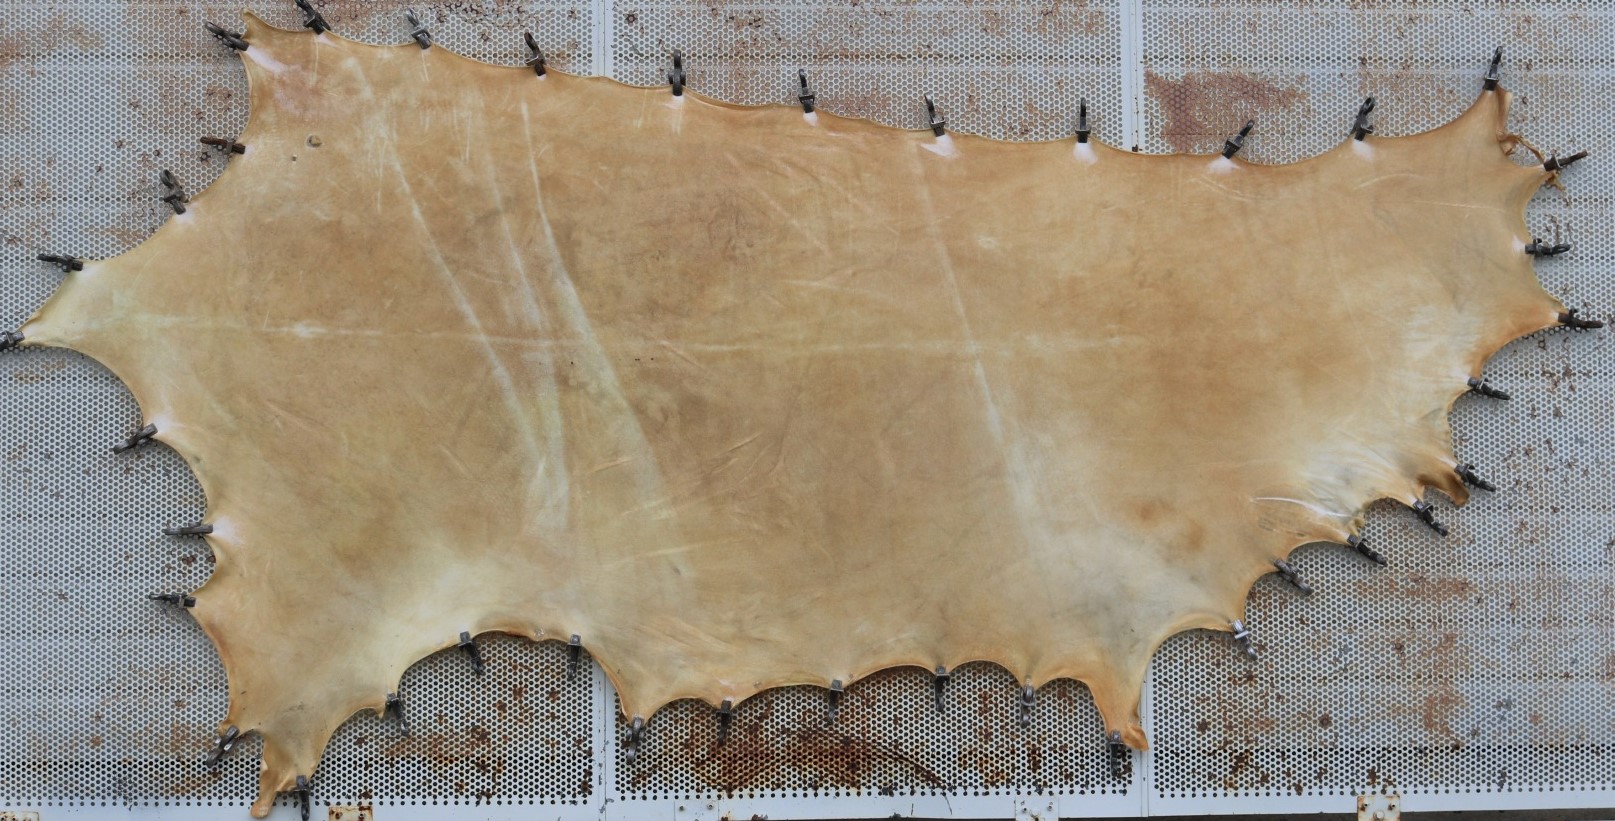
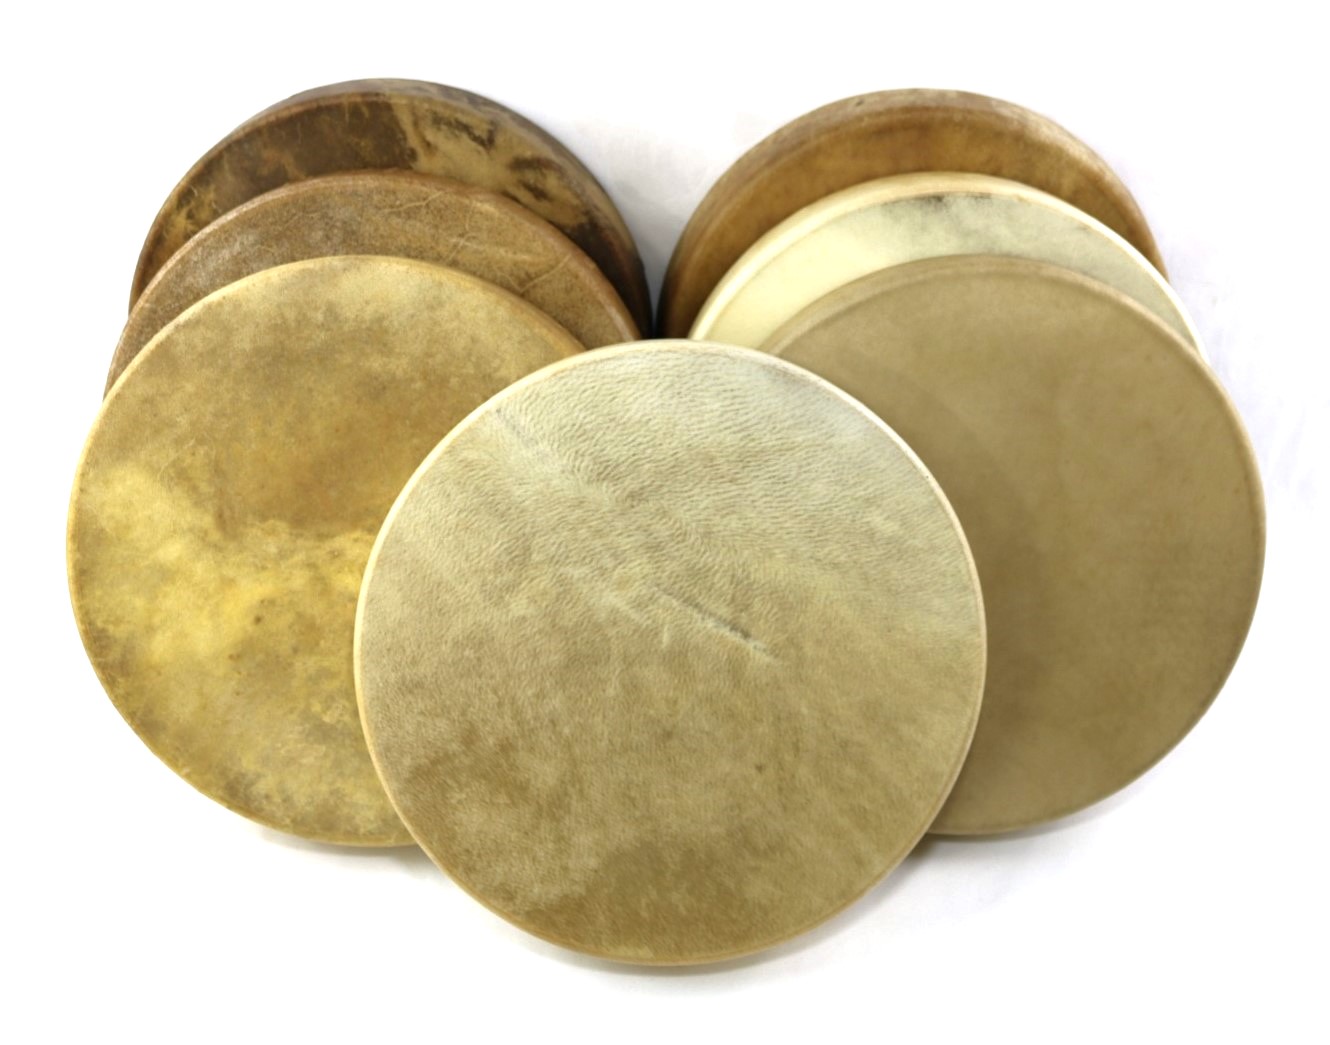
What Is Rawhide?
Rawhide is a dried, untreated animal hide that has not undergone the tanning process. It is made by removing hair, soaking the hide, and stretching it to dry, resulting in a rigid, tough material. Since rawhide retains its natural toughness, it is stronger than leather but lacks flexibility.
Key Features of Rawhide:
- Hard & rigid when dry – Ideal for drum heads, tools, and durable crafts.
- Becomes pliable when wet – Can be shaped and molded before drying back into a firm state.
- Not water-resistant – Rawhide absorbs water and can soften or warp with moisture exposure.
- More lightweight than leather – Despite its toughness, rawhide is relatively lightweight.
Common Uses for Rawhide:
- Drum heads & musical instruments
- Rattles & ceremonial items
- Tool handles & bindings
- Traditional crafts & artwork
Rawhide’s rigid structure makes it perfect for structural and artistic applications where strength is required.
Leather vs. Rawhide: Which Should You Choose?
Choosing between leather and rawhide depends on the specific needs of your project.
| Feature | Leather | Rawhide |
|---|---|---|
| Flexibility | Soft & pliable | Rigid when dry, softens when wet |
| Water Resistance | More resistant to moisture | Absorbs water & can warp |
| Durability | Long-lasting with proper care | Very tough but can become brittle over time |
| Common Uses | Clothing, footwear, tack, upholstery | Drums, tools, rattles, dog chews |
| Workability | Can be cut, stitched & molded easily | Must be softened with water to shape |
If you need a soft, flexible material for wearable goods or upholstery, leather is the best choice. However, if you require a rigid, durable material for drum-making, tool binding, or crafts, rawhide is the superior option.
Where to Buy Leather & Rawhide
At Centralia Fur & Hide, we offer a wide selection of quality leather and rawhide for artisans, crafters, and outdoor enthusiasts. Whether you’re looking for tanned leather for clothing and accessories or authentic rawhide for drum-making and crafts, we have the materials you need.
Browse Our Selection Today:
📍 Centralia Fur & Hide
🌐 Shop Leather & Rawhide
Choosing between leather and rawhide depends on your project, but no matter what you need, we have the perfect material for you!
 A Few Words From Our Customers...